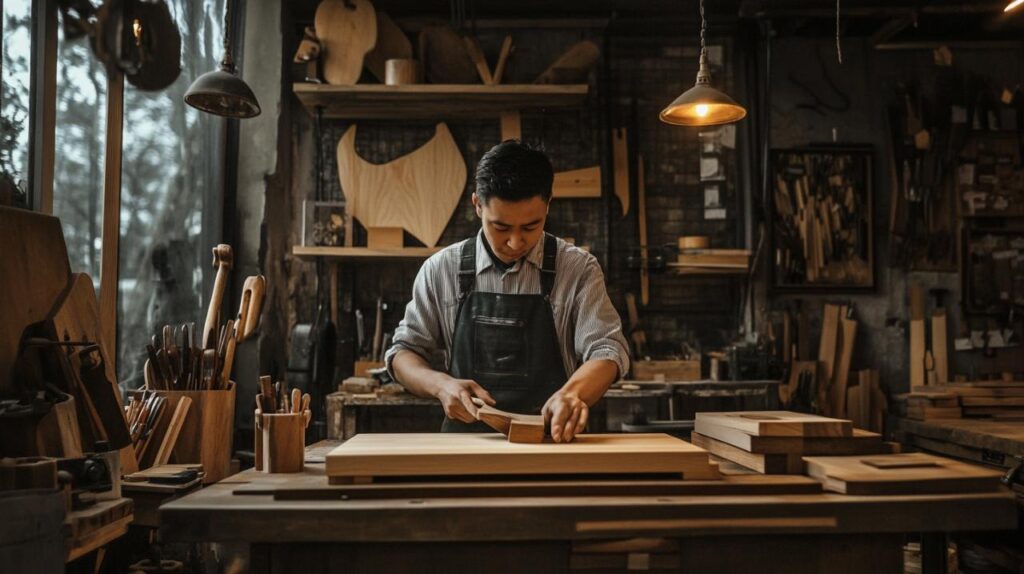
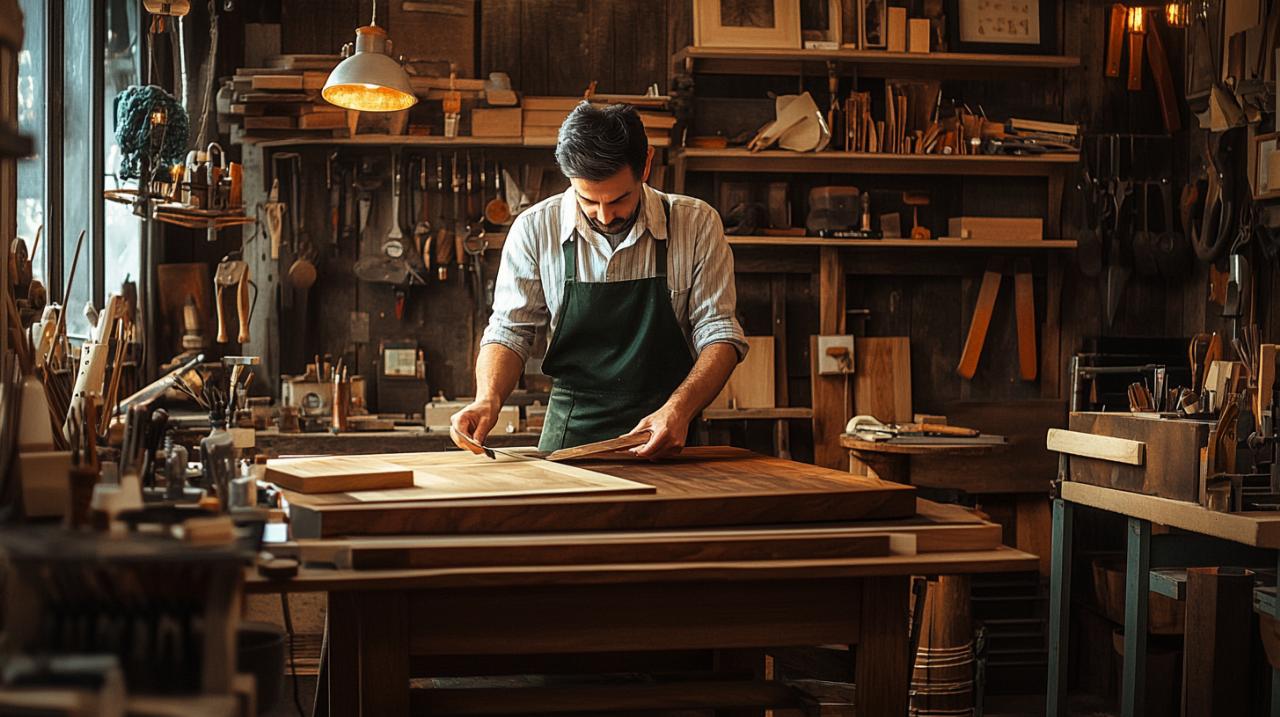
Transforming your living space with handcrafted wooden elements brings a sense of warmth and authenticity that mass-produced items simply cannot replicate. Whether you are refurbishing an old piece of furniture or creating something entirely new, the process of working with timber offers endless opportunities to express your personal style. From selecting the perfect grain to applying the final coat of varnish, each step in the journey requires care, attention, and a dash of creativity. By honing your skills and understanding the nuances of timber work, you can elevate your home decor projects to new heights, crafting pieces that are both functional and visually striking.
Essential woodworking techniques for stunning home furnishings
The foundation of any successful home decor project lies in mastering the fundamental techniques that ensure both beauty and longevity. When you understand how different methods of construction and material selection work together, you can create pieces that not only look impressive but also stand the test of time. A solid grasp of these essentials will allow you to approach each project with confidence, knowing that your work will be both durable and aesthetically pleasing. The key is to combine traditional craftsmanship with a willingness to experiment, always keeping in mind the vision you have for your interior design.
Mastering joinery methods for durable decor pieces
Joinery is the backbone of any wooden structure, and the quality of your joins will ultimately determine how well your piece holds together over the years. Strong, well-executed joints provide the stability needed for furniture and accessories that will be used daily, while also contributing to the overall aesthetic of the finished product. Among the most reliable techniques are mortise and tenon joints, which offer exceptional strength and are ideal for frame construction. Dovetail joints, on the other hand, are perfect for drawers and boxes, providing both a secure fit and a distinctive visual appeal. For those who are just starting out, pocket hole joinery offers a simpler yet still robust solution, making it easier to assemble larger pieces without sacrificing structural integrity. As you develop your skills, exploring more advanced methods such as finger joints or bridle joints can add a professional touch to your work. The choice of joinery method should always be guided by the intended use of the piece, as well as the type of timber you are working with. By investing time in perfecting these woodworking tips and tricks, you ensure that your creations are not only beautiful but also built to last.
Selecting the right timber for your interior design vision
Choosing the appropriate wood is just as important as the techniques you employ, as different species offer varying characteristics in terms of colour, grain, hardness, and workability. Hardwoods such as oak, walnut, and cherry are prized for their durability and rich tones, making them ideal for statement pieces that serve as focal points in a room. Oak, with its prominent grain and light hue, works wonderfully in both traditional and contemporary settings, while walnut's deep, luxurious brown adds a touch of elegance to any space. If you are aiming for a lighter, more Scandinavian aesthetic, consider using ash or beech, which offer a subtle grain and a pale finish that complements minimalist decor. Softwoods like pine and cedar are more budget-friendly and easier to work with, making them suitable for projects where a rustic or distressed look is desired. However, it is important to remember that softwoods are more susceptible to dents and scratches, so they may not be the best choice for high-traffic areas. Additionally, reclaimed timber has become increasingly popular for those seeking an eco-friendly option with a story to tell. Salvaged wood often comes with unique character marks, knots, and weathering that add instant charm to any project. When selecting your material, always consider how the wood's natural properties will interact with your chosen finish and the overall design scheme of your home.
Creative finishing touches to transform wooden home accessories
Once the construction phase is complete, the finishing process is where your piece truly comes to life. This stage allows you to enhance the natural beauty of the wood, protect it from wear and tear, and inject your own creative flair into the design. The right finish can turn a simple wooden object into a standout feature, whether you are aiming for a sleek, modern look or a more weathered, vintage appearance. Experimenting with different techniques and products will help you discover the styles that resonate most with your personal taste and complement your interior decor. From subtle stains that highlight the grain to bold paint colours that make a statement, the possibilities are virtually limitless.
Staining and painting strategies for bespoke character
Staining is one of the most effective ways to enhance the natural grain of wood while adding depth and richness to its colour. A well-applied stain penetrates the surface, bringing out the intricate patterns that make each piece of timber unique. When selecting a stain, consider the existing tones in your room and how the finished piece will fit into the overall colour palette. Dark stains such as walnut or espresso can create a dramatic, sophisticated look, while lighter shades like honey or natural oak offer a softer, more understated elegance. Before applying any stain, it is crucial to prepare the surface by sanding it smooth and removing any dust or debris. This ensures that the colour is absorbed evenly and prevents blotchy patches. For a more contemporary twist, consider experimenting with coloured stains or dyes, which can introduce unexpected hues such as grey, blue, or even green, adding a modern edge to traditional woodworking. Painting, on the other hand, allows for complete control over the final appearance and is particularly useful when working with lower-grade timber or when you want to create a bold, graphic effect. Chalk paint has become a favourite among DIY enthusiasts for its matte finish and ease of use, as it requires minimal surface preparation and can be layered to create depth. For a more durable finish, consider using a high-quality furniture paint or enamel, which provides a hard-wearing surface that is resistant to chips and scratches. When painting, always apply multiple thin coats rather than one thick layer, as this reduces the risk of drips and ensures a smooth, professional result. Whether you choose to stain or paint, the key is to take your time and build up the colour gradually, allowing each layer to dry fully before proceeding to the next.
Distressing and aging techniques for vintage charm
If you are drawn to the aesthetic of antique or well-loved furniture, distressing and aging techniques can help you achieve that timeworn look without waiting decades for natural wear to occur. These methods involve deliberately creating marks, dents, and colour variations that mimic the effects of age and use, resulting in a piece that feels as though it has a rich history. One popular technique is dry brushing, where a small amount of paint is applied to a brush and then wiped off until only a hint remains. This is then lightly swept across raised areas and edges, creating highlights that suggest years of handling. Sanding back painted or stained surfaces is another effective way to reveal underlying layers and add depth, particularly around corners, handles, and other high-wear zones. For a more pronounced effect, you can use tools such as chains, hammers, or even screws to create dents, gouges, and scratches that replicate the marks left by everyday life. Wax finishes, especially those tinted with darker pigments, can be applied and then buffed to settle into recesses and grain lines, enhancing the sense of age. To further amplify the vintage feel, consider using crackle mediums that create fine cracks in the paint surface as it dries, or applying layers of different coloured paints and then sanding through to expose glimpses of each layer. These techniques work particularly well on pieces intended for rustic or farmhouse-style interiors, where the worn, lived-in look is celebrated. However, they can also be adapted to suit more eclectic or shabby chic spaces, where the contrast between old and new creates visual interest. The beauty of distressing is that it is forgiving and flexible, allowing you to experiment and adjust until you achieve the desired effect. With practice and a willingness to embrace imperfection, you can transform even the most ordinary wooden accessory into a charming focal point that adds character and warmth to your home.